Integrating Tailwind and DaisyUI into a Leptos project
How to add TailwindCSS and DaisyUI to a Leptos (or any Trunk) project.
Adding TailwindCSS
In /index.html update it to include the following.
<!DOCTYPE html>
<html>
	<head>
		<meta charset="utf-8" />
		<link data-trunk rel="rust" data-wasm-opt="z" />
		<link data-trunk rel="tailwind-css" href="/style/tailwind.css" />
		<title>Wordle</title>
	</head>
	<body></body>
</html>
And in /style/tailwind.css add the following:
@tailwind base;
@tailwind components;
@tailwind utilities;
Add a tailwind.config.js in the root folder.
/** @type {import('tailwindcss').Config} */
module.exports = {
	content: {
		files: ["*.html", "./src/**/*.rs"],
	},
	theme: {
		extend: {},
	},
	plugins: [],
}
Now you should be able to use Tailwind classes in your main.rs and have your changes visible on the front-end.
Adding DaisyUI
Install DaisyUI from the npm repository.
npm install -D tailwindcss
npm install -D daisyui@latest
Update tailwind.config.js in the root folder.
/** @type {import('tailwindcss').Config} */
module.exports = {
	content: {
		files: ["*.html", "./src/**/*.rs"],
	},
	theme: {
		extend: {},
	},
	plugins: [require('daisyui'),],
}
Now you can use DaisyUI classes in your Leptos code.
Making a simple Navbar with DaisyUI and Leptos
In main.rs create a new component. Now we can use one of the example nav components from the DaisyUI component library to create a simple navigation.
#[component]
pub fn Navbar() -> impl IntoView {
	view! {
		<div class="navbar bg-primary text-primary-content">
			<div class="navbar-start">
				<a href="/" class="btn btn-ghost text-xl">
					daisyUI
				</a>
			</div>

			<div class="navbar-end">
				<button class="btn btn-ghost">Home</button>
					<a href="/" class="btn btn-ghost">
						Home
					</a>
					<a href="/about" class="btn btn-ghost">
						About
					</a>
			</div>
		</div>
	}
}
The html is verbatim from the DaisyUI website, we’ve just wrapped it in a Rust #[component]. Now we can reference this in our App component where we created the Router.
#[component]
pub fn App() -> impl IntoView {
	view! {
		<Router>
			// this line here ------------------>
			<Navbar/>
			// --------------------------------->
			<main>
				<Routes>
					<Route path="/" view=|| view! { Home Page }/>
					<Route path="/about" view=|| view! { About Page }/>
				</Routes>
			</main>
		</Router>
	}
}
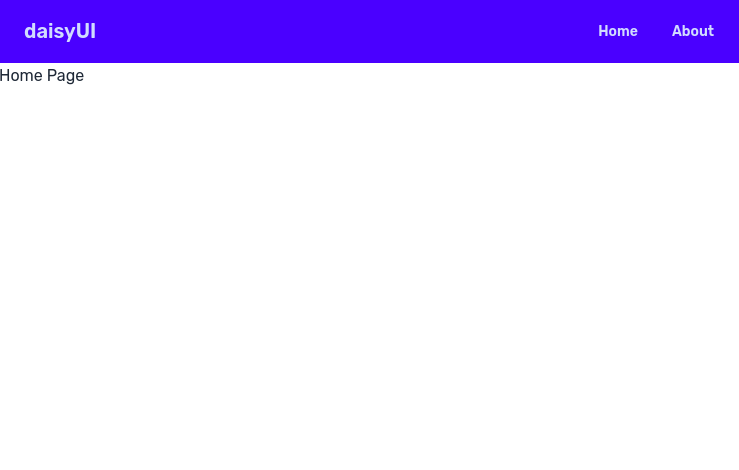
Now we can see a modern looking navigation setup in our Leptos application. 
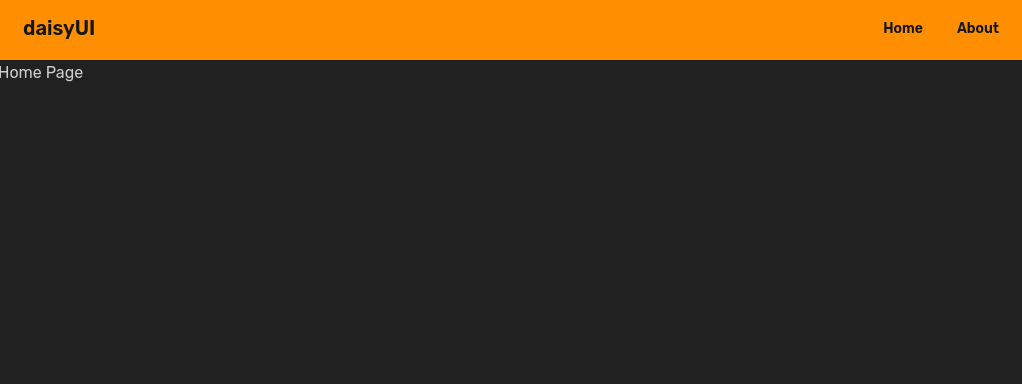
Although the colors are kind of bright… We can easily change the color scheme using DaisyUI’s built in themes.
In your tailwind.config.js update it to include a daisyui key with the chosen theme.
/** @type {import('tailwindcss').Config} */
module.exports = {
    content: {
        files: ["*.html", "./src/**/*.rs"],
    },
    theme: {
        extend: {},
    },
    plugins: [require('daisyui')],

    daisyui: {
        themes: [
            "halloween", // first one will be the default theme
        ],
    },
}